Flipgrid Tutorial For Beginners
- Get link
- X
- Other Apps

Empower Every Voice
Hey- hey. New to Flipgrid? You are in the right place. Please use this tutorial to learn about the basics! If you have any questions, please feel free to reach out!
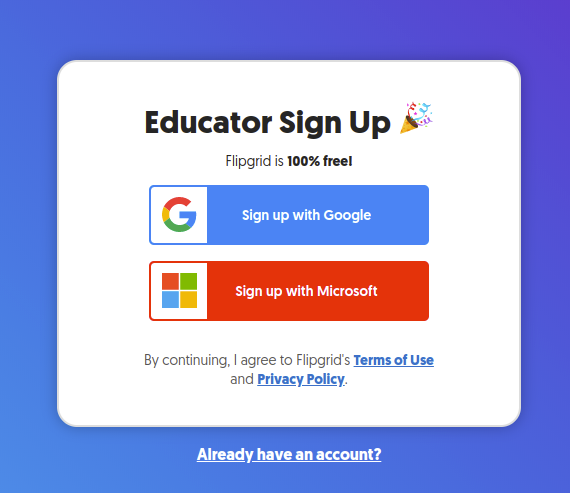
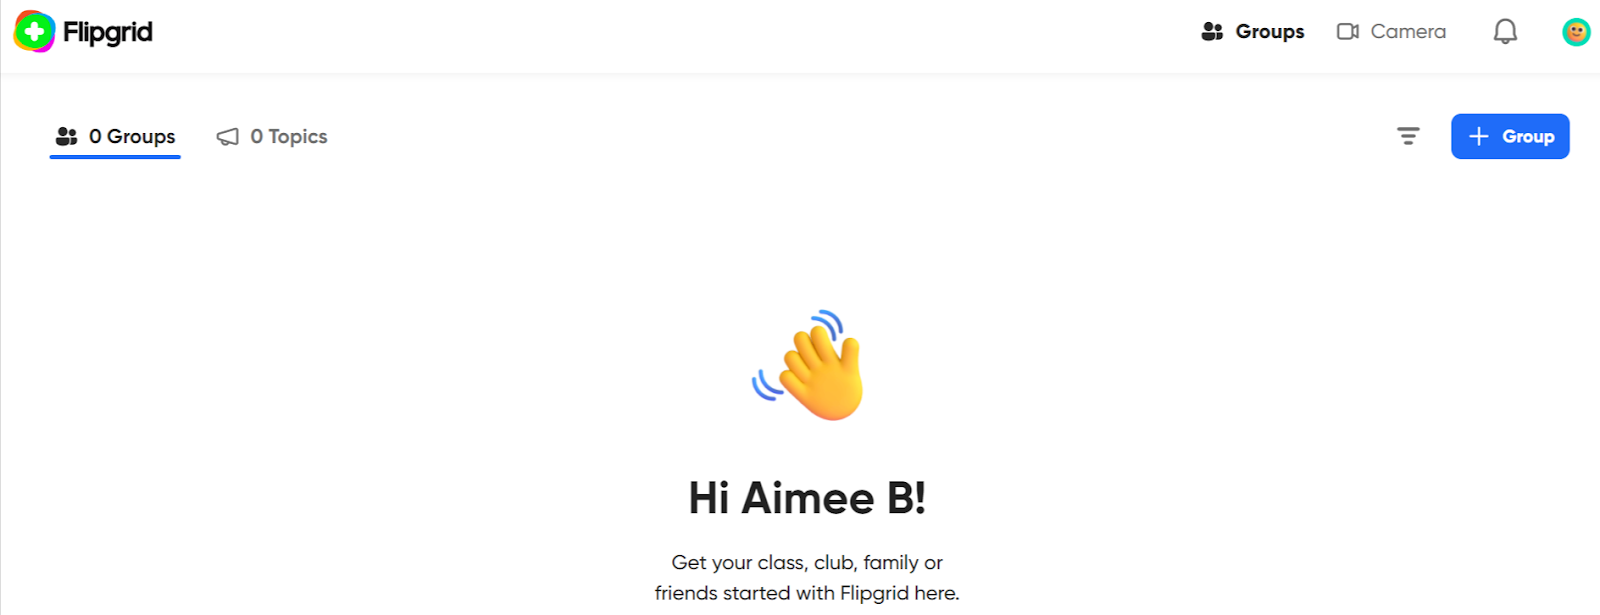
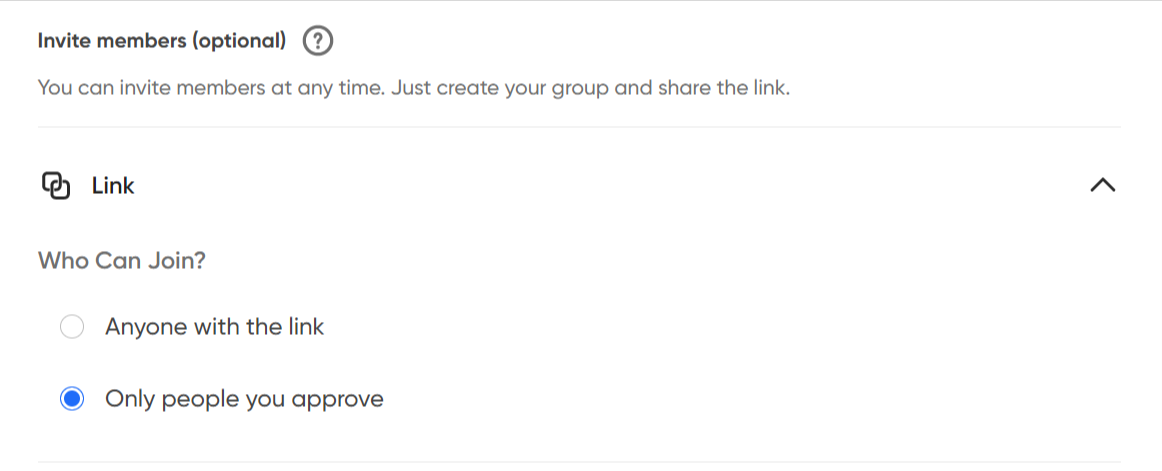
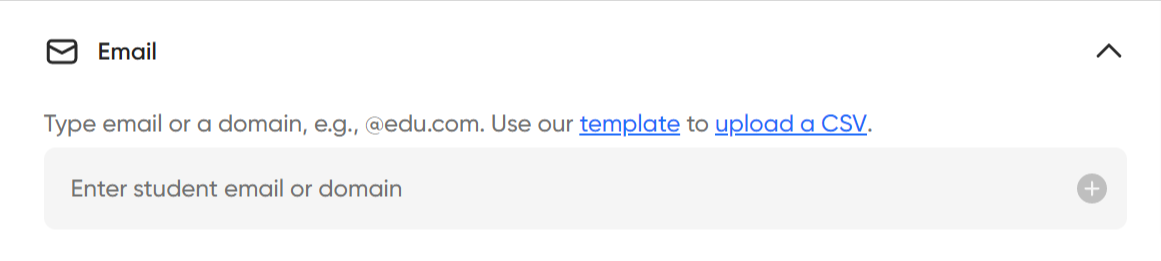
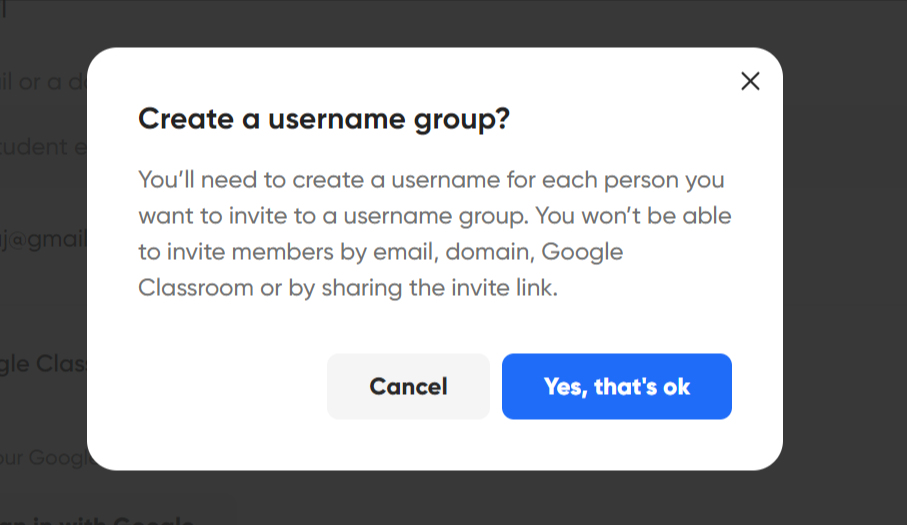
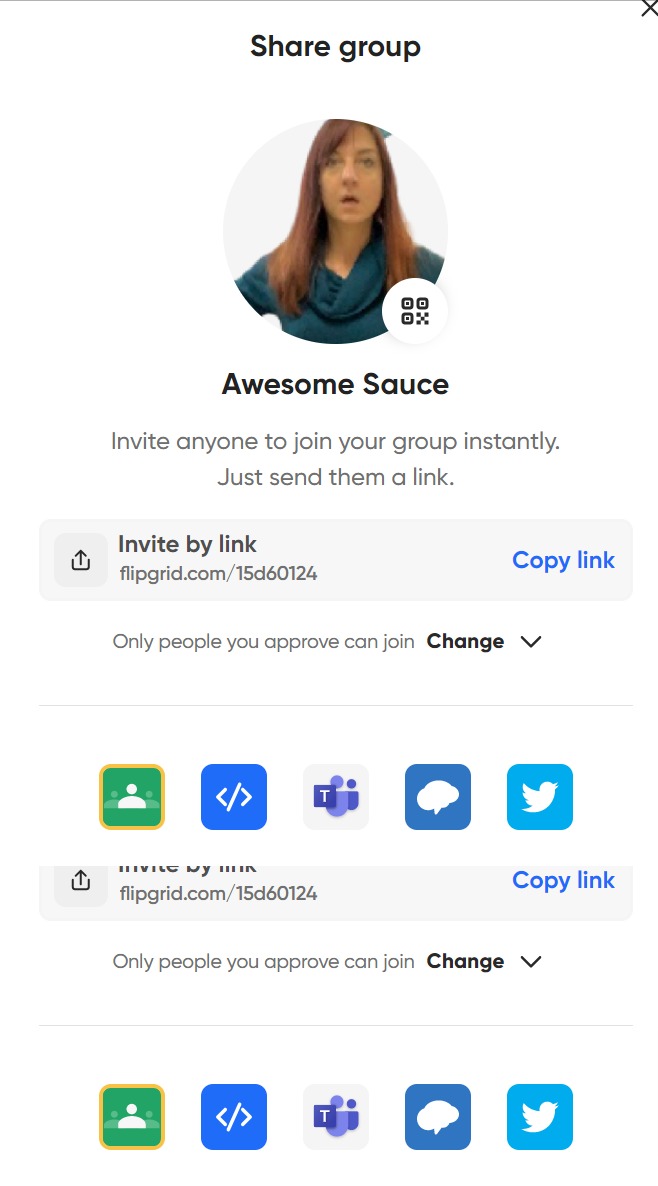
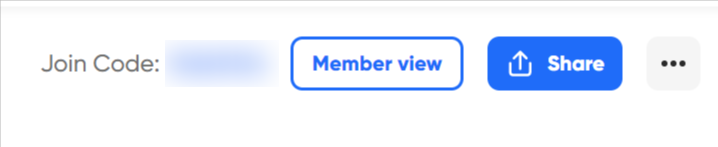
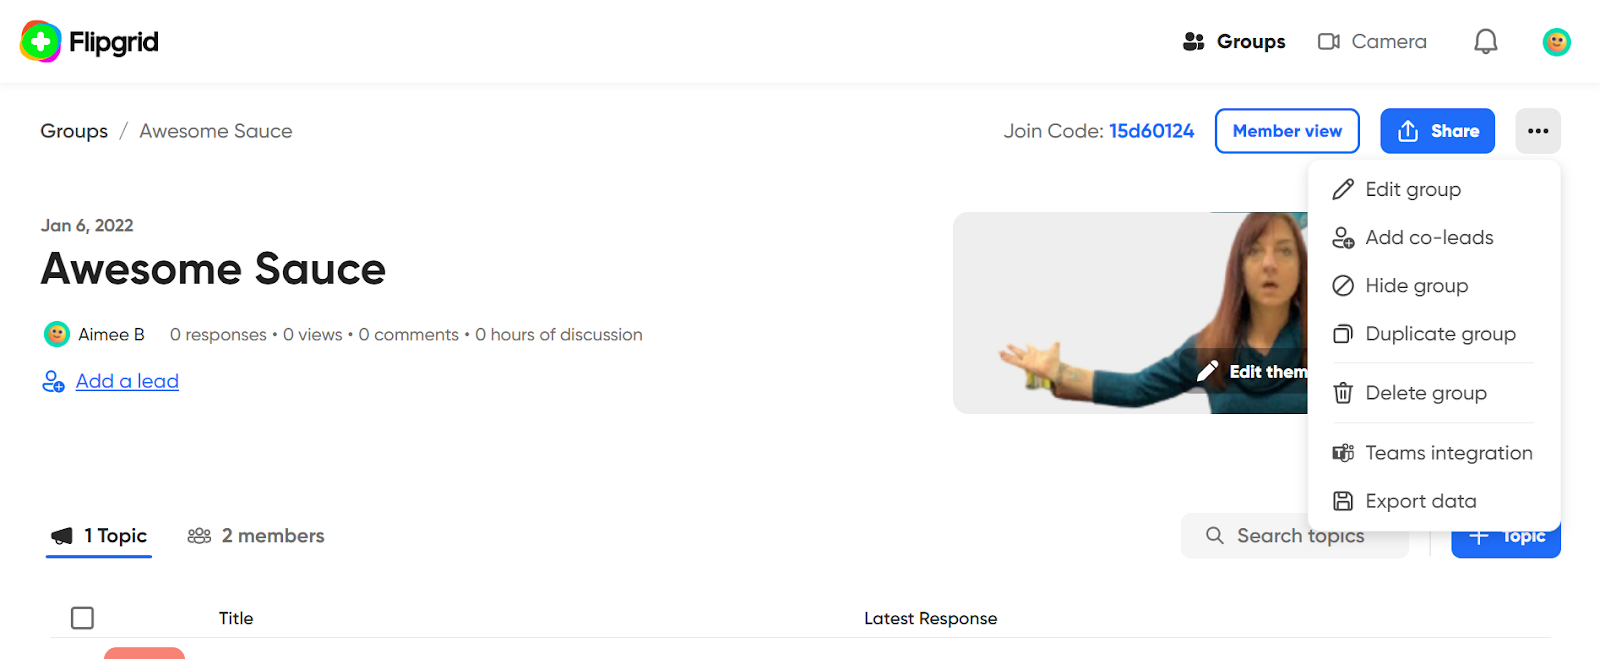
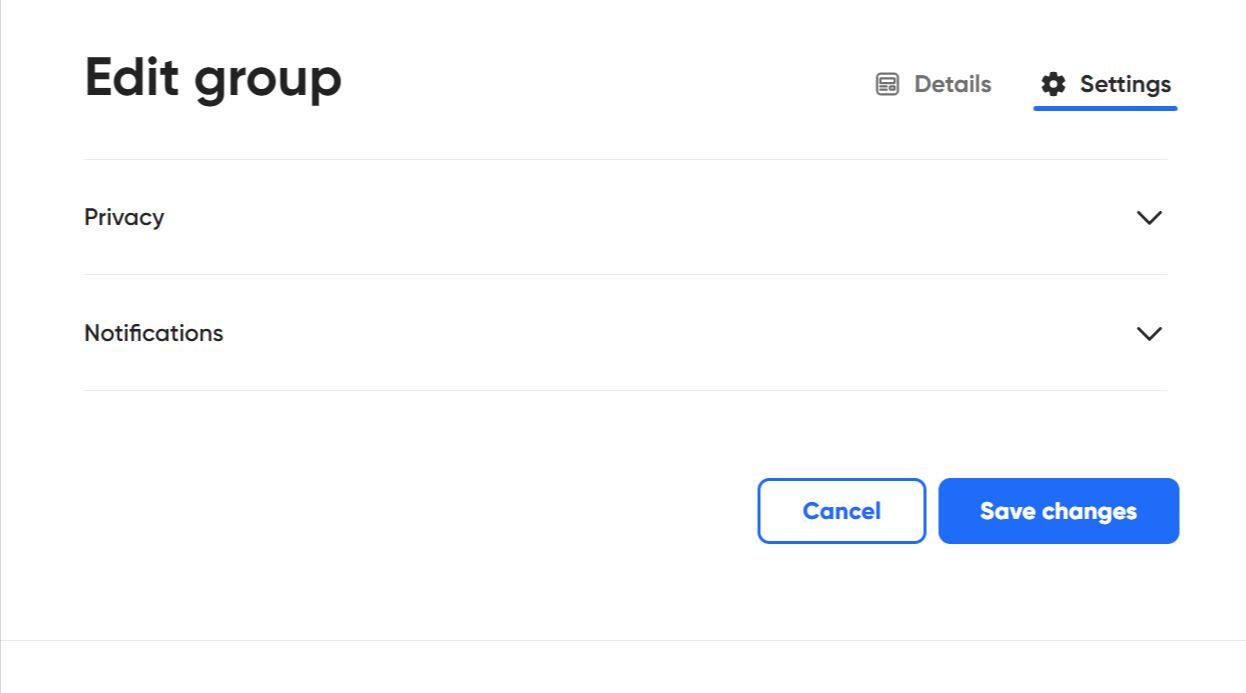
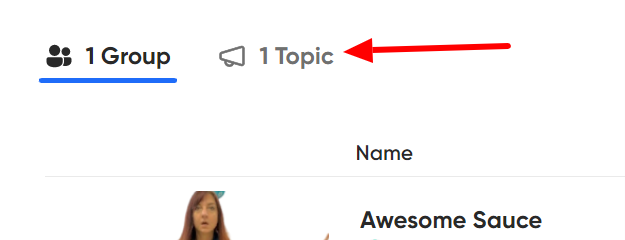
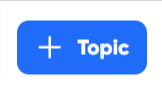
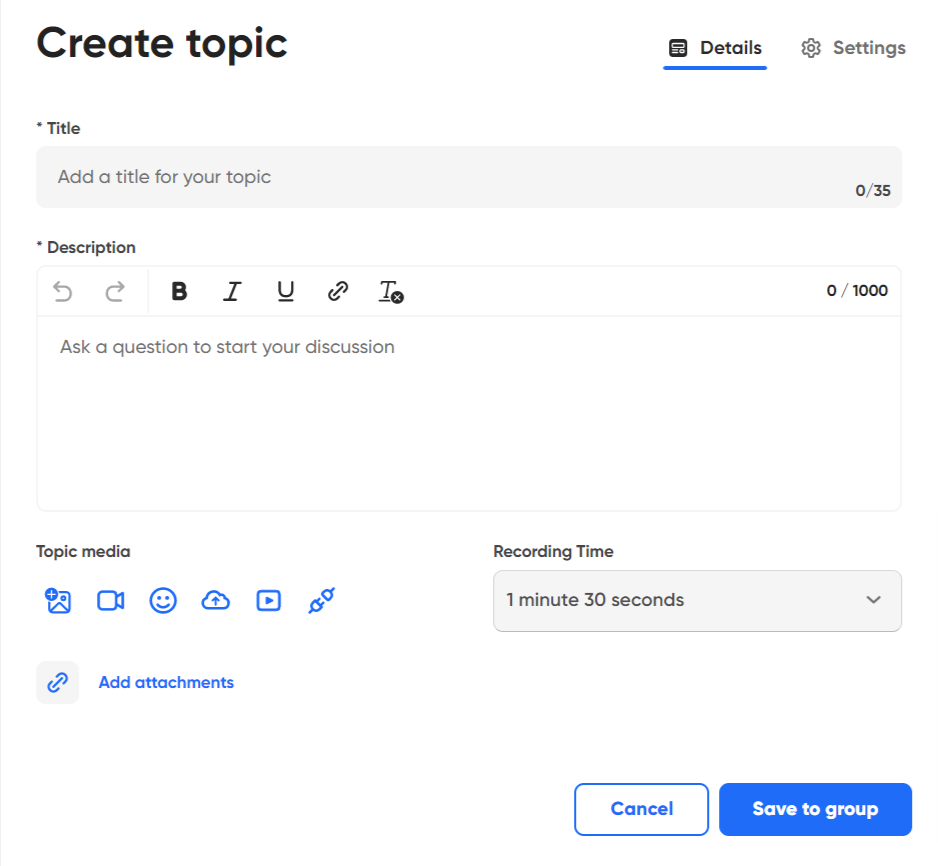
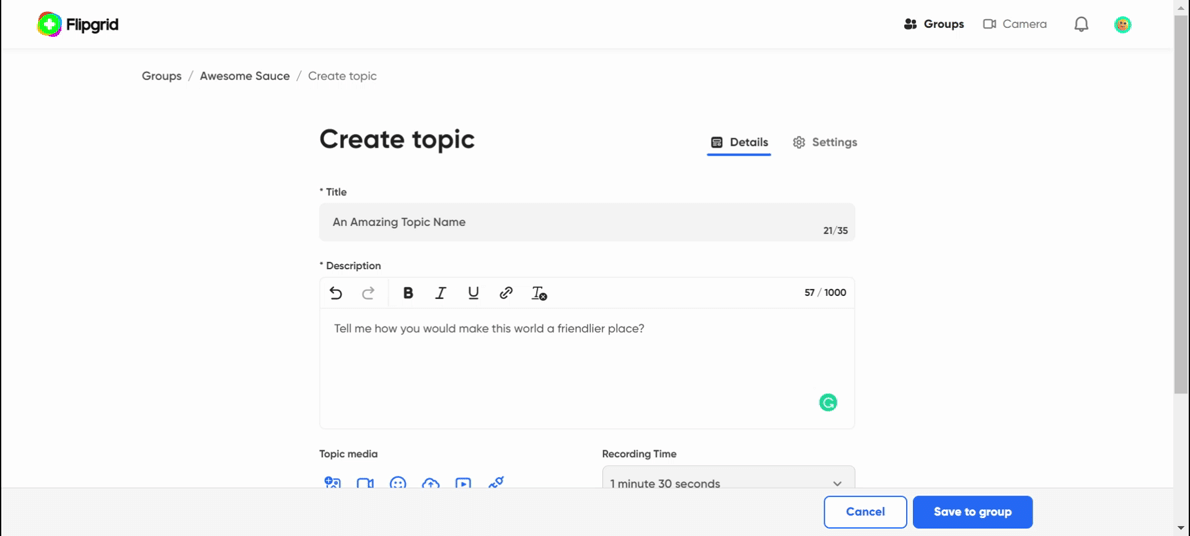
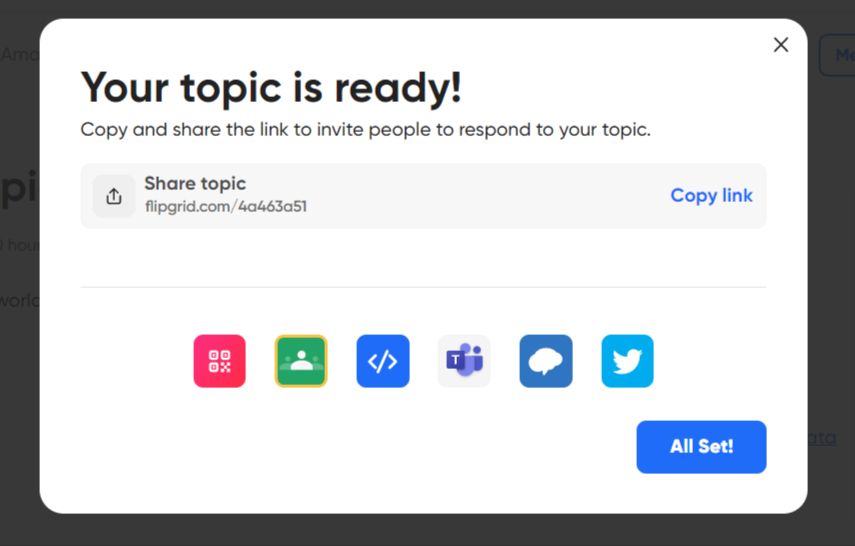
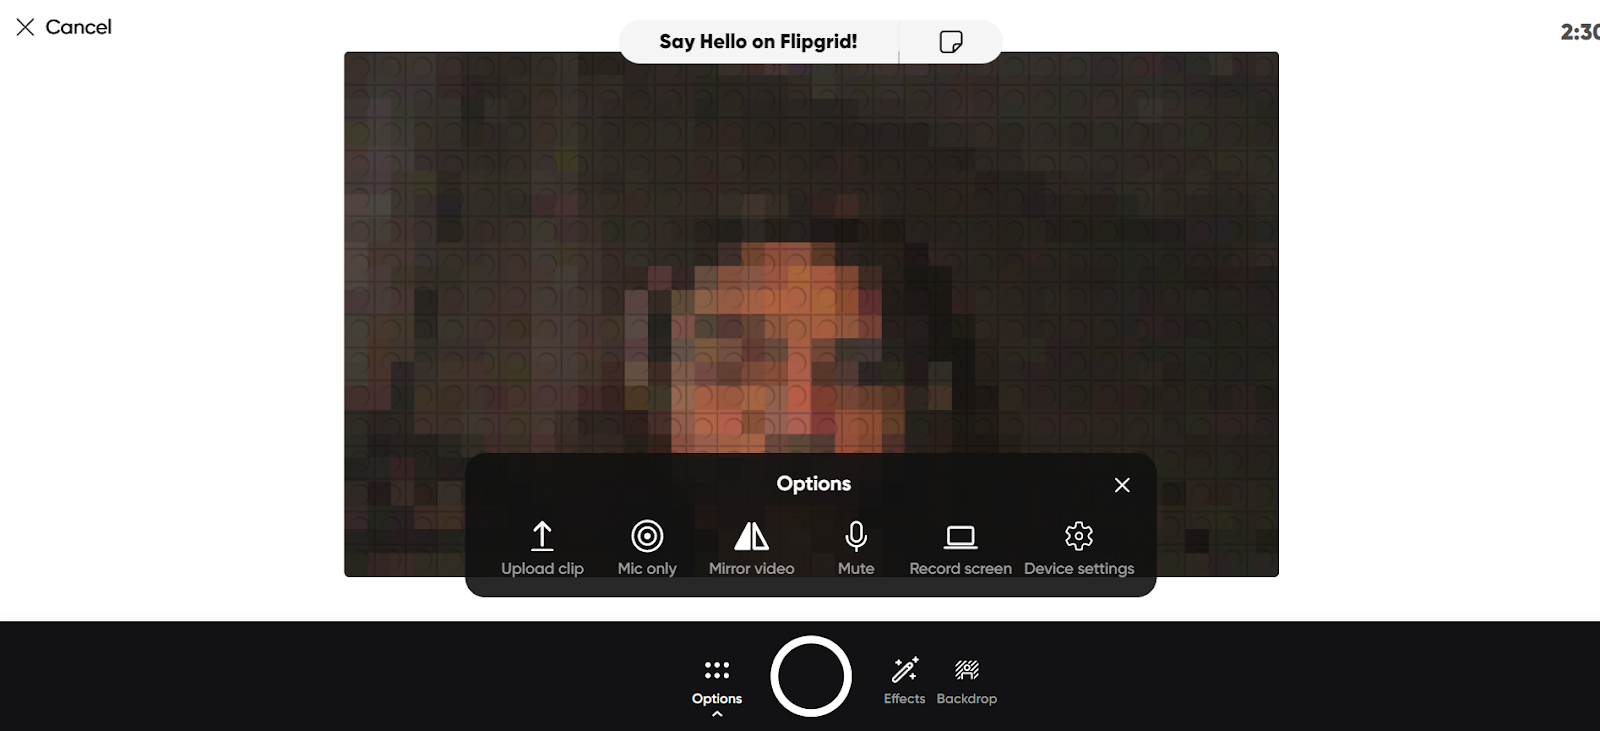
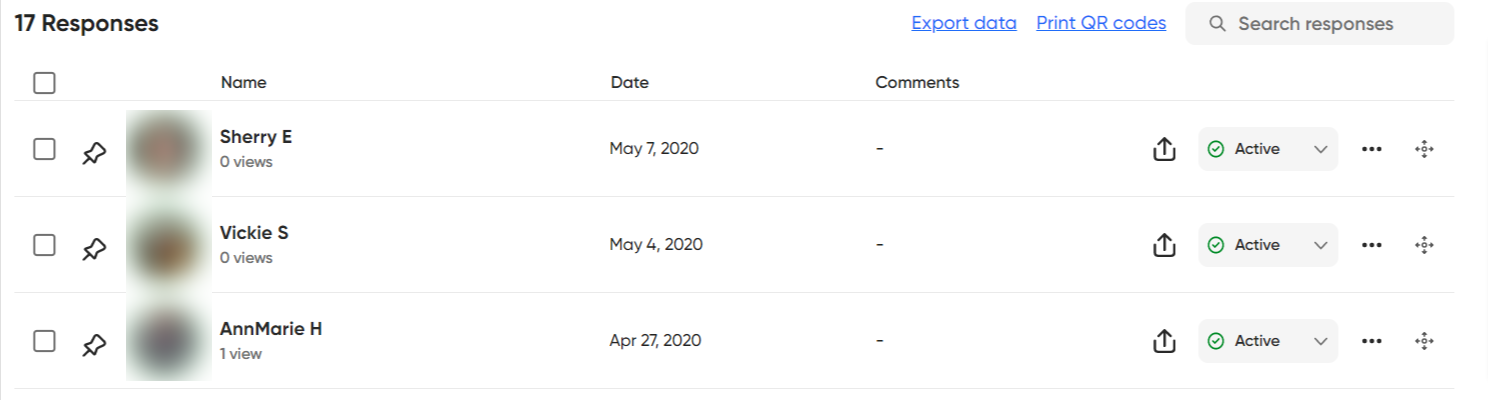
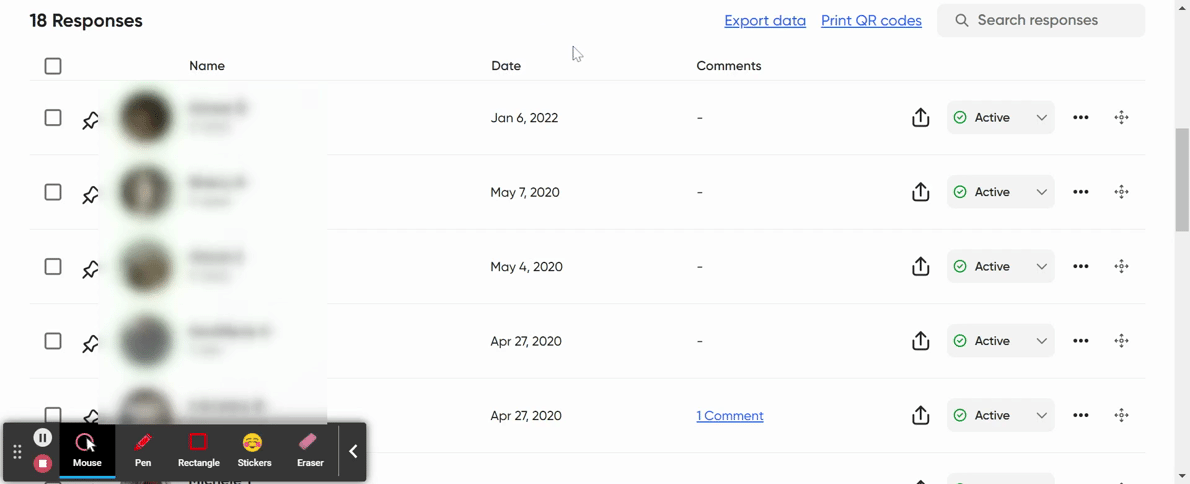
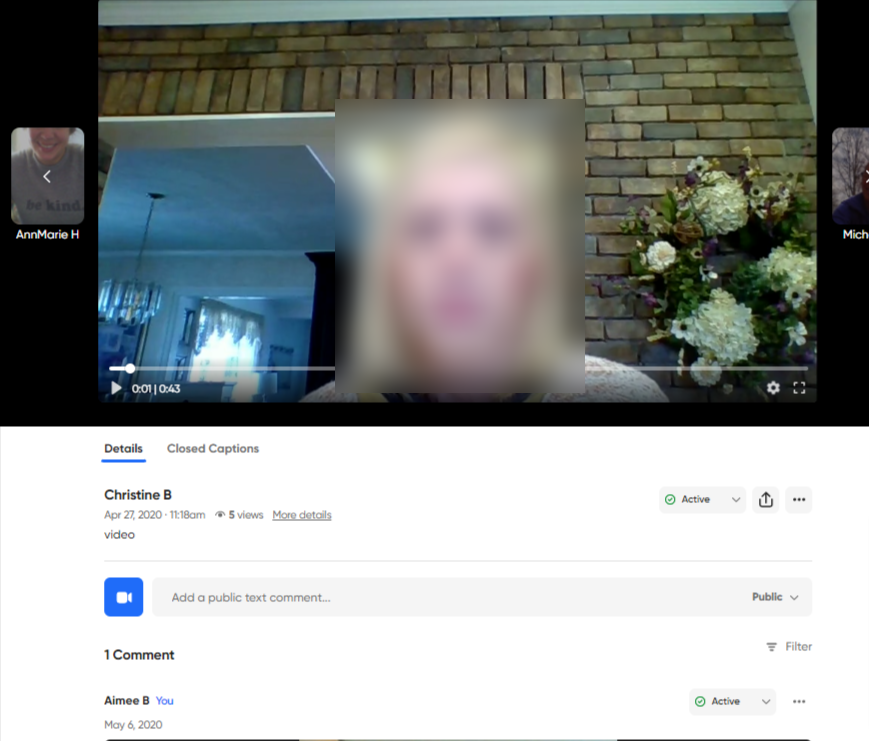
Empower Every Voice Hey- hey. New to Flipgrid? You are in the right place. Please use this tutorial to learn about the basics! If you have any questions, please feel free to reach out! ______________________________________________________________________________________ Let’s begin shall we?Signing Up and Creating an AccountTo begin, go to https://info.flipgrid.com/ and click “Sign Up” located in the top right-hand corner if you have not already have made an account: Choose either Microsoft or Google as a log-in. Fill in appropriate fields: Welcome! You are now ready to Rock and Roll! Well, Hello Flipgrid….. ______________________________________________________________________________________ Creating A GroupYou are now ready to create a “Group” (AKA: classroom). Simply click the Let’s Break It DownEdit Theme: You can choose to use one of Flipgrid’s themes or upload your own: Inviting Members and Joining the Group So we have a few fun options here! You can invite members through a variety of ways: Email, Google Classroom, Password, Username, etc. For more on that, check out the Help Center from Flipgrid. You also have the option to have Anyone Join With The Link or to option to approve who joins. You can also invite by email: You can connect and sign in to Google Classroom for members to join your group: Or create a username. But please note the following warning: Click Create Group. You will have an option to share the group. Just like that. Magic. Welcome to Flipgrid! _____________________________________________________________________________ Making Changes and Adding Co-Leads to your GroupThe Menu Overview: The menu located on the top right of your Flipgrid Group offers you a few options. First is the Join Code that individuals can join by going to https://info.flipgrid.com/ and entering the code . The Member View allows you to see what your Flipgrid Group looks like as a participant. The Share button opens a pop-up window with sharing options. And then there are the amazing three So, I am going to spend some time discussing the items in those three dots….. To make changes to your Group, click on the (you got it) three dot menu option located in the right-hand corner of your Group: The first in the order of importance is Edit. You have the ability to go in and, well, edit, the Details of your Group. You can also change the Settings and how you would like to get notifications and privacy. Make sure to check it out once your group is up and running. Next in the three-dotted menu of awesomeness is your ability to add Co-Leads. But, what are Co-Leads? “Co-leads can edit the group, create topics and approve responses and comments. Learn more about co-leads.” So next in the menu is the ability to hide, duplicate, and delete your Groups. I believe that is pretty self explanatory 😀 And similar to the Google Classroom connection in Flipgrid, is your ability to connect to Microsoft Teams if you are a Microsoft school. Lastly, you can download and export data from your Group to gain an overall understanding of what Topics you have, as well as information regarding the number of views and responses. Easy peasy lemon squeezy so far! Right? ______________________________________________________________________________________ Adding Topics to your Group:Please note: You can either add Topics to your Groups or use Topics as a stand-alone item for students to submit a video. This can be found on your Flipgrid homepage on the left-hand side of the menu of awesomeness. Regardless of the route that you take to make a Topic (whether it be for your Group or as a stand-alone Topic) the steps are the same. So, let’s do this 👊 Click + Topic Go ahead and give your Topic a name and description: Note how you options to format the Description. You have the option to add media to your topic and can upload an image, video, gif, record video, attachment (such as a PDF), or Add an Integration, such as Buncee, to your Flipgrid. Set the max Recording Time (10 minutes is the longest) to the time in which you want your students to stay under. Before your click Save, check out the Settings for your Flipgrid found here: Now brace yourself, you have a lot of options here. You can change the settings of the Topic. One important note here is that the moderation of video and comments are automatically turned off. If this is something that you feel passionate about (moderation), then by all means turn this option on. Next up is Responses. This section is all about how the students interact with the Flipgrid video. You have the following four options: Allow attachment links, Allow likes on a video, Allow download and share, and Display view count. Next up, Camera. The Camera settings are the “extras” that students can add to their Flipgrid videos. For example, you have the option to allow them to add sticky notes, drawings, filters, and so on. And finally, Guest Password. As indicated this is an optional feature. It is a great way for family members, educators and students around the globe, and others to join your Flipgrid topic and not need a login. When you are all set, click Save. Once completed- you are now ready to share that Topic. Oh man, look at you go! ________________________________________________________________ Making a Flipgrid VideoAfter you have shared your Group and/or Topic with your students, it’s now time to go ahead and let them create a video! When your students navigate to the Topic page and read over and review your requested assignment, they shall then hit the infamous Add Response button If prompted, allow Camera and Microphone. If you previously allowed the options, students can add filters, backdrops a variety of other options to their video submission: Once they are satisfied with their creation, they can add a caption and link (optional) and then post to the Topic. ________________________________________________________________ Managing Flipgrid Video SubmissionsSo you created a Flipgrid account? ✅ You made your first Group! ✅ You set up your first Topic!! ✅ You shared your awesomeness with your students!!! ✅ And- AND- students submitted videos!!!! ✅ Now what? That’s a valid question. Student responses will show in the Topic area of Flipgrid after they have been submitted: As an overview, you can see the date, who submitted, how many views, how many comments were left, and so on. You also have the option to Export Data, Print QR Codes, and Search Responses. To view a response, simply click in the area of the submission like so: You can leave a comment or video response for your students! You do have the option to change both video and written response from public to private. You can also easily navigate between the videos by clicking on the preview videos that are located to the left and right of the focal video: |


- Get link
- X
- Other Apps


Comments
Post a Comment